Studio photography in 2025 focuses on efficiency, flexibility, and precise light control.
Portrait photographers rely on compact spaces, smarter gear, and workflows designed to reduce friction during shoots.
Modern setups favor intentional lighting choices, adaptable modifiers, and streamlined file handling.
Portrait results improve when gear selection aligns with space constraints, shooting style, and client expectations.
To make improvements necessary to stay competitive, let’s see the best studio photography setups for portrait photographers you can make today.
Table of Contents
1. Natural Light Minimalist Setup (Home Studio Friendly)
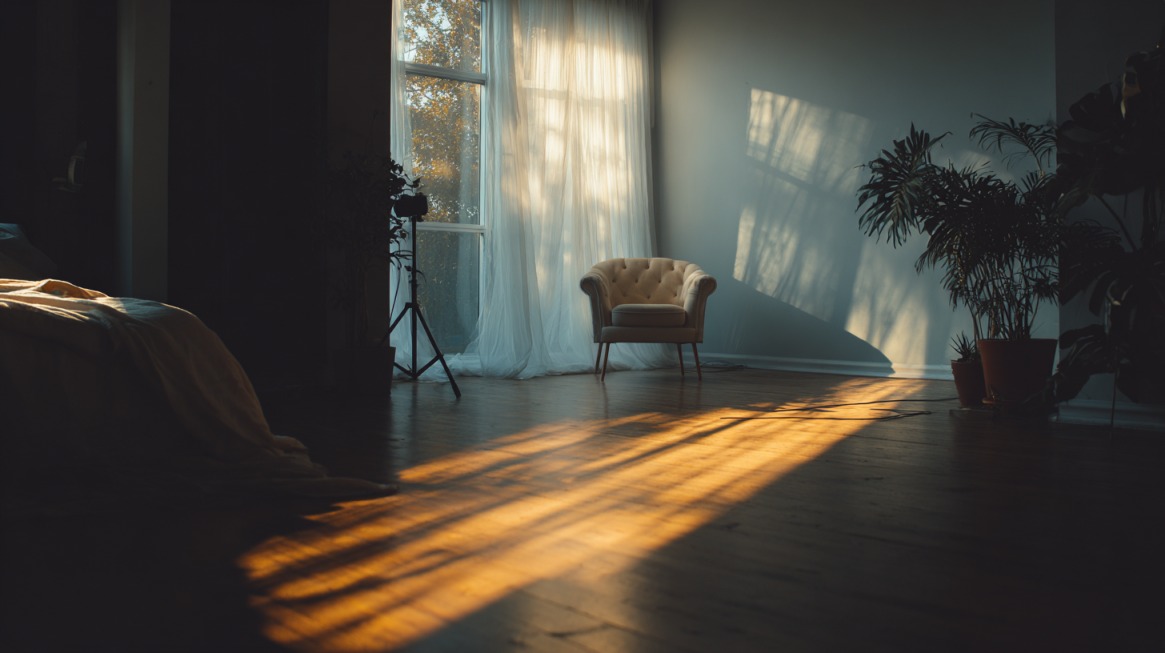
Natural light remains one of the most effective tools for portrait photography, especially inside home studios where space and budget influence decisions.
Success depends less on equipment volume and more on deliberate positioning, surface control, and backdrop choice.
Window placement plays a defining role. Side lighting created by positioning a subject at a right angle to a large window adds depth and facial structure.
Light quality changes throughout the day, so consistent results rely on simple control methods rather than constant repositioning.
Light shaping improves through the intentional use of common materials. Harsh points out soften when diffusion fabric or sheer curtains cover the window.
Shadow density adjusts using a silver reflector placed opposite the light source.
Light spill reduces significantly once V-flats or a basic L-shaped corner limit unwanted bounce and reflections.
Background choice directly affects mood and separation. Dark-painted walls or collapsible black backdrops isolate the subject and enhance facial contours.
Choosing the right professional photography backdrops for your setup improves consistency across sessions and simplifies post-production.
Best suited for: Small rooms, budget-conscious creators, moody portraits, editorial-style work
Professional insight: Dark wall paint maintains reliable contrast without adding gear.
2. Single-Strobe Dramatic Portrait Setup
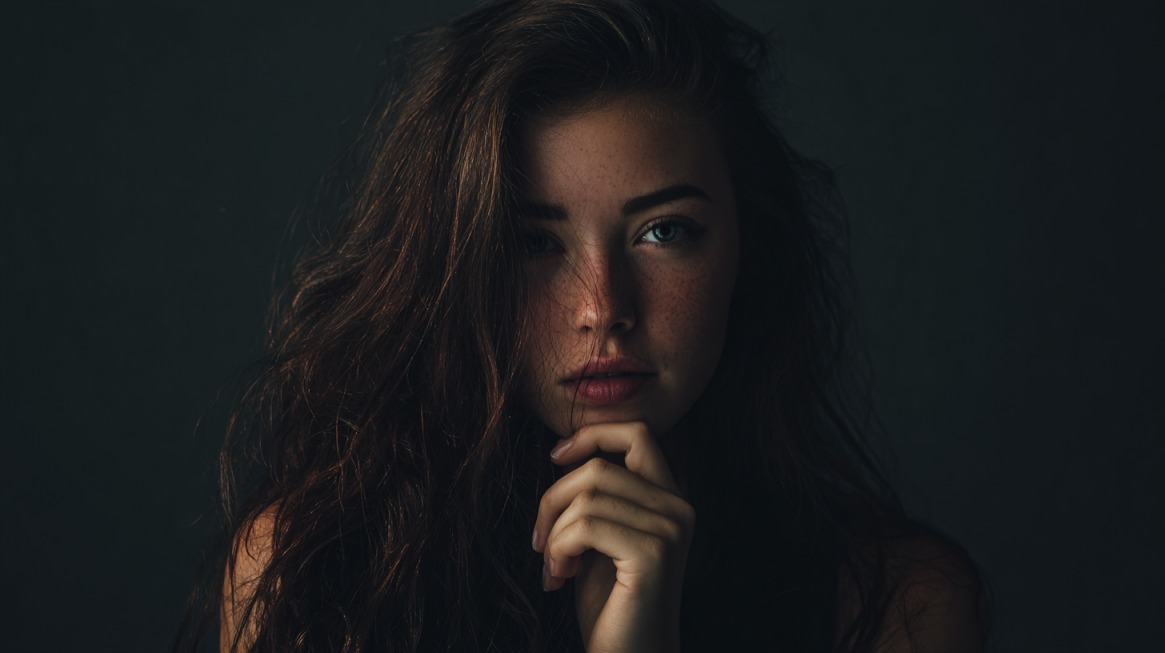
Single-light setups offer precision and creative control while keeping workflows simple.
Dramatic portraits benefit greatly when one strong light source defines the entire scene.
Strobe placement at a 45-degree angle creates classic Rembrandt-style lighting with defined shadows and highlight control.
Modifier selection matters more than quantity. Octaboxes provide soft transitions, while gridded strip softboxes narrow light spread and add direction.
Edge separation enhances subject definition against darker backgrounds.
Snoots or reflectors placed behind or slightly off-axis create a controlled rim.
Contrast strengthens when the fill light remains minimal, and shadows retain depth.
View this post on Instagram
- High-output strobe capable of low-power precision
- Modifier grids to prevent unwanted spill
- Dark backgrounds to reinforce contrast
- Limited fill to preserve texture
Best suited for: Artistic portraits, fine art headshots, character-driven sessions
Professional insight: Minimal fill preserves skin texture and facial dimension.
3. High-End Tethered Workflow Setup
Tethered workflows improve accuracy, efficiency, and collaboration during studio sessions.
- Focus
- Color
- Expression
Direct cable tethering provides stability and consistent data transfer during long shoots.
Wireless options add flexibility for movement-based sessions.
Professional monitors with a wide color gamut display subtle tonal shifts accurately, reducing rework later.
Fast SSD storage shortens transfer times and keeps editing responsive.
Powered USB hubs maintain uninterrupted operation across multiple devices.
- High-resolution mirrorless camera bodies
- Calibrated monitors supporting wide color spaces
- SSDs optimized for sustained write speeds
- Powered hubs supporting cameras and accessories
Best suited for: Client sessions, commercial portraits, high-volume studio work
Professional insight: Regular monitor calibration protects color accuracy across deliverables.
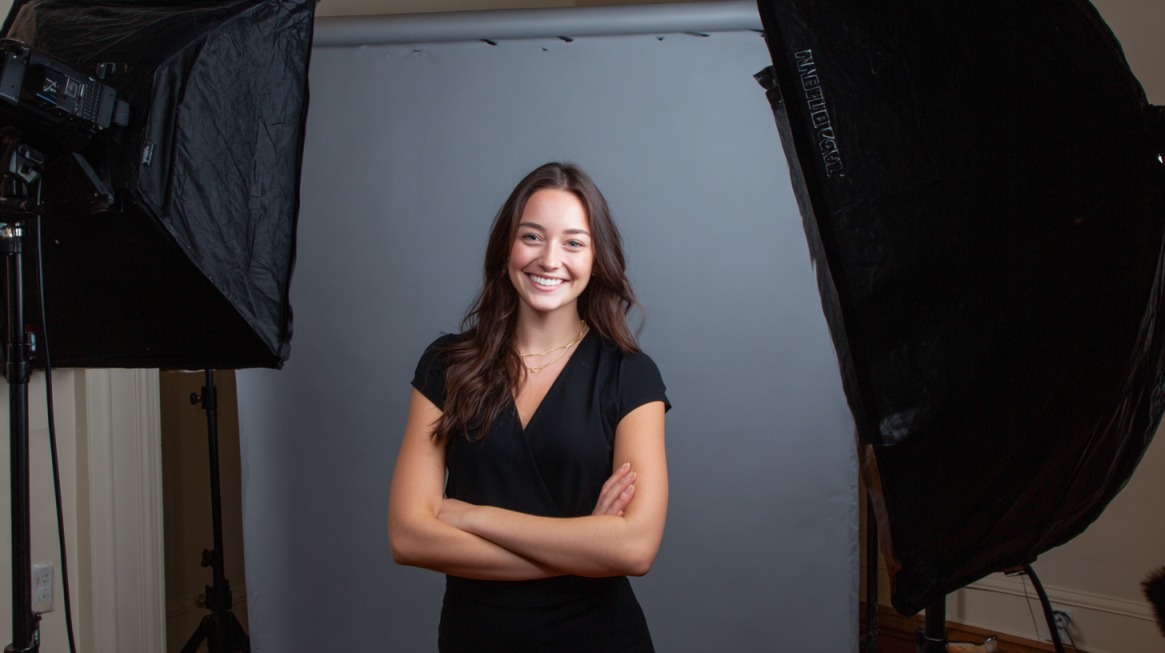
4. Full-Light Control Setup with Softboxes and Reflectors
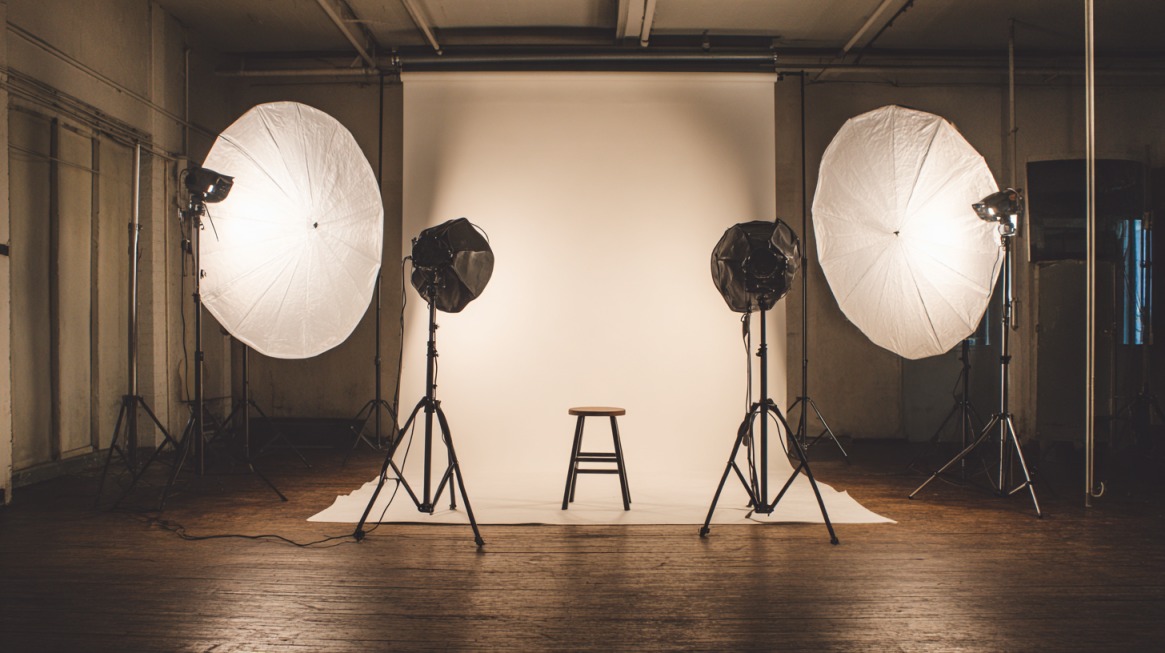
Multi-light configurations deliver refined, professional portraits through precise balance and adaptability.
Controlled lighting allows photographers to shape facial features intentionally while preserving soft transitions and natural skin texture.
Key and fill lights work together to define structure without harsh contrast.
Key light placement determines overall mood, while fill light manages shadow density and detail retention. Proper spacing and angle prevent flat results while maintaining consistency across frames.
Large octaboxes serve as primary key lights due to their broad, even spread.
Light wraps smoothly around the subject, reducing sharp edges and minimizing specular highlights.
Secondary softboxes introduce controlled fill, lifting shadows gently without eliminating depth or contour.
Reflectors provide fine contrast control with minimal setup time. White surfaces soften shadows, while silver options increase definition and clarity.
Hair lights positioned above or behind the subject add separation when clothing or backdrop tones match skin color, preventing visual merging.
- Key light size relative to subject distance
- Fill intensity adjusted for skin texture
- Hair light placement to avoid flare
- Reflector choice matched to contrast goals
Best suited for: Beauty portraits, corporate headshots, family photography
Professional insight: Softbox size directly influences shadow softness and falloff.
5. Seamless Background Studio Setup
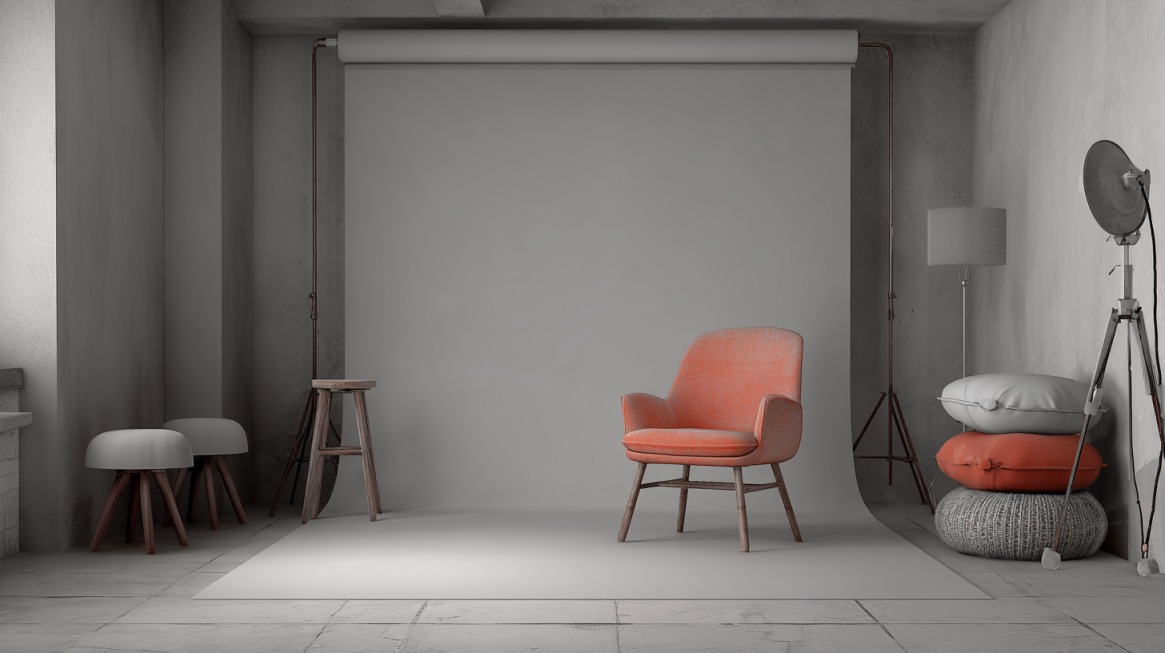
Clean backgrounds create visual consistency and reduce post-production time across portrait sessions. Controlled backdrop systems support professional results by removing distractions and keeping focus on the subject.
Seamless paper and collapsible canvases offer predictable performance in compact studios.
Paper rolls provide smooth tonal transitions without texture, while canvases add subtle character when needed.
Compact storage and fast setup make both options practical for high-volume workflows.
Background illumination requires precision. Even light distribution prevents shadows, gradients, and color banding that complicate editing.
Separate background lights set at a lower intensity than subject lights maintain uniform exposure without flattening the image.
Subject lighting remains isolated to preserve depth and dimensionality.
Adequate distance between subject and background minimizes spill and prevents unwanted shadows.
Support systems play a critical safety and efficiency role. Heavy-duty stands stabilize full paper rolls and reduce the risk of tipping in small spaces.
Color selection influences visual tone, brand alignment, and retouching speed.
Best suited for: E-commerce, branding portraits, ID photos, commercial headshots
Professional insight: Neutral colors adapt easily across lighting styles and edits.
6. Compact Portable Studio Kit for On-Location Portraits
Portable studio kits allow portrait photographers to deliver studio-level results in offices, homes, and event environments without permanent setups.
Efficiency and adaptability drive every gear choice, keeping quality consistent across unpredictable locations.
- Changing spaces
- Ceiling heights
- Ambient light conditions
Compact equipment shortens setup time and reduces physical strain during transport.
Controlled lighting ensures reliable exposure and color even in mixed or poor lighting environments.
Battery-powered strobes form the backbone of portable kits. Reliable output remains consistent across power levels, eliminating dependence on wall outlets or venue limitations.
Rechargeable batteries support full-day shooting without interruptions, while compact form factors simplify packing.
Background solutions prioritize speed and flexibility. Collapsible backdrops open and close in seconds, fitting easily into vehicles or carry cases.
Best suited for: Environmental portraits, events, traveling photographers
Professional insight: Prepared kits reduce delays and missed opportunities.
7. Hybrid Natural and Artificial Light Setup

Hybrid lighting setups combine window light with artificial sources to create portraits that feel natural while staying fully controlled.
Flexibility defines this approach, allowing photographers to react to changing daylight without losing consistency across frames.
Window light usually serves as the key source, shaping the face with soft directional illumination.
Subject placement relative to the window determines contrast level and mood. Angles close to 45 degrees produce gentle modeling, while side placement closer to 90 degrees increases drama and texture.
Artificial light refines and stabilizes the scene. Low-output LED panels or flashes introduce controlled fill that lifts shadows without overpowering daylight. Hair or rim light adds separation when background tones sit close to skin tones.
Contrast management depends heavily on studio surfaces and modifiers. V-flats positioned opposite the window absorb or reflect light as needed, allowing precise shadow depth control.
Softboxes placed across from the window counterbalance intensity and preserve an organic look rather than a studio-heavy result.
@casey.foto Photographers listen up: Yep I heard it too. You cannot mix natural light and artificial light and make it look natural. Here is the truth. You can. Here are five pro tips to blend them like a boss 1. Expose for the ambient first Set your shutter, aperture, and ISO so your scene looks the way you want under the natural light only. This gives you the right foundation for a natural feeling image. 2. Use your strobe as a subtle fill and not the main light After your ambient is dialed in, bring in your artificial light at a low power to lift shadows and add dimension without making it obvious that flash was used. 3. Match color temperature If your natural light is daylight balanced, make sure your artificial light is too or gel it so skin tones look clean and believable. 4. Keep the direction of your light consistent Line up your artificial light so it follows the same direction your natural light is coming from. Do not put your flash in a spot that makes the light look fake. 5. Balance ambient power and flash power You want the natural light to feel like the dominant source. Slightly under expose your ambient and then raise the flash power little by little until the fill looks soft and natural. #fyp #photographytips #idontcare #lighting ♬ original sound – dj auxlord
Best suited for: Lifestyle portraits, editorial shoots, creative home studios
Professional insight: Silver reflectors increase contrast, while gold options warm skin tones.
The Bottom Line
Studio success depends on thoughtful alignment among space, lighting preferences, and creative goals.
Portrait photographers gain more control by prioritizing lighting tools and modifiers before investing heavily in camera upgrades.
Modern gear supports efficient workflows and consistent quality.
Strong portraits often rely on simple setups guided by clear vision and deliberate light placement.
Read more: Have a problem with choosing the best place to store your creations? I have the perfect suggestion for you!